A freshly extracted list is a table of candidates with one column per data point: headline, current company, name, LinkedIn, campaigns, tags, state and whatever columns the AI generated. Filtering is how you get from that table to the people you're actually going to message.
The column menu
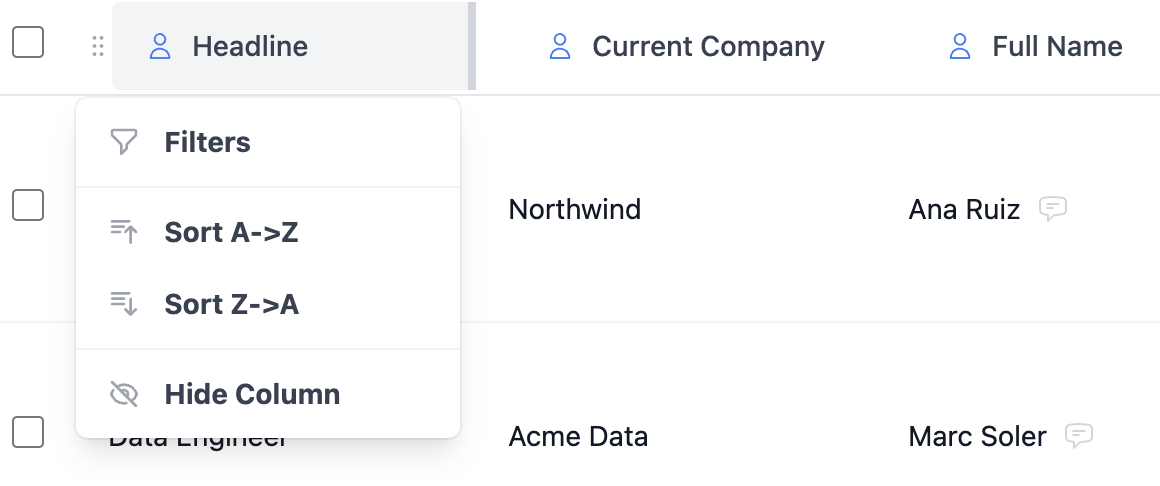
Every column header has its own menu with four options:
- Filters: filter the list by that column's value.
- Sort A→Z and Sort Z→A: sort by that column. This is what you use on the AI Scoring columns to float the best fits to the top.
- Hide Column: hides it. With lots of variables applied the table gets wide; hiding what you're not looking at helps more than it sounds.
Active filters
The filters you apply show up as tags above the table, under “Active filters”, and you clear them with the × on each tag.
They're worth checking before concluding "this list has barely any candidates": the counter at the bottom (Showing N candidate(s)) counts what passes the filter, not what's in the list. If the list says 25 and the bottom says 12, a filter is on.